Get ready to fall in love with the most delightful treat you’ll bake all year. These charming Strawberry Kiss Cookies are a perfect blend of soft, chewy strawberry-flavored cookie and a rich, creamy chocolate kiss nestled right in the center. In addition to being incredibly delicious, they are also wonderfully simple to make. Consequently, this recipe is perfect for bakers of all skill levels. Whether you’re preparing for a Valentine’s Day party, a school bake sale, or simply craving a sweet homemade goodie, these cookies are guaranteed to be a huge hit. The vibrant pink hue and the iconic chocolate peak make them as beautiful as they are tasty, ensuring they disappear from the cookie jar in record time.
Why You’ll Absolutely Adore These Strawberry Kiss Cookies
There are countless reasons to make this strawberry kiss cookies recipe a staple in your collection. First and foremost, the flavor combination is simply classic. The sweet, slightly tart taste of strawberry pairs beautifully with the smooth milk chocolate. Furthermore, the texture is divine; each bite starts with a soft, buttery cookie that practically melts in your mouth. Another key point is their visual appeal. Their bright pink color makes them stand out on any dessert table, making them especially perfect for festive occasions like Valentine’s Day or baby showers.
Beyond their taste and appearance, these cookies are remarkably easy to prepare. The dough comes together quickly with standard pantry ingredients, and the process of rolling and pressing the chocolate kiss is a fun activity, especially for kids who want to help in the kitchen. In fact, it’s a wonderful way to introduce little ones to the joys of baking. Unlike some more complicated recipes, these cookies are quite forgiving. For those who love festive baking, these cookies are a great alternative to more complex desserts. For instance, while Valentine’s Day Cheesecake Brownies are amazing, these cookies offer a quicker and equally delicious option.
Print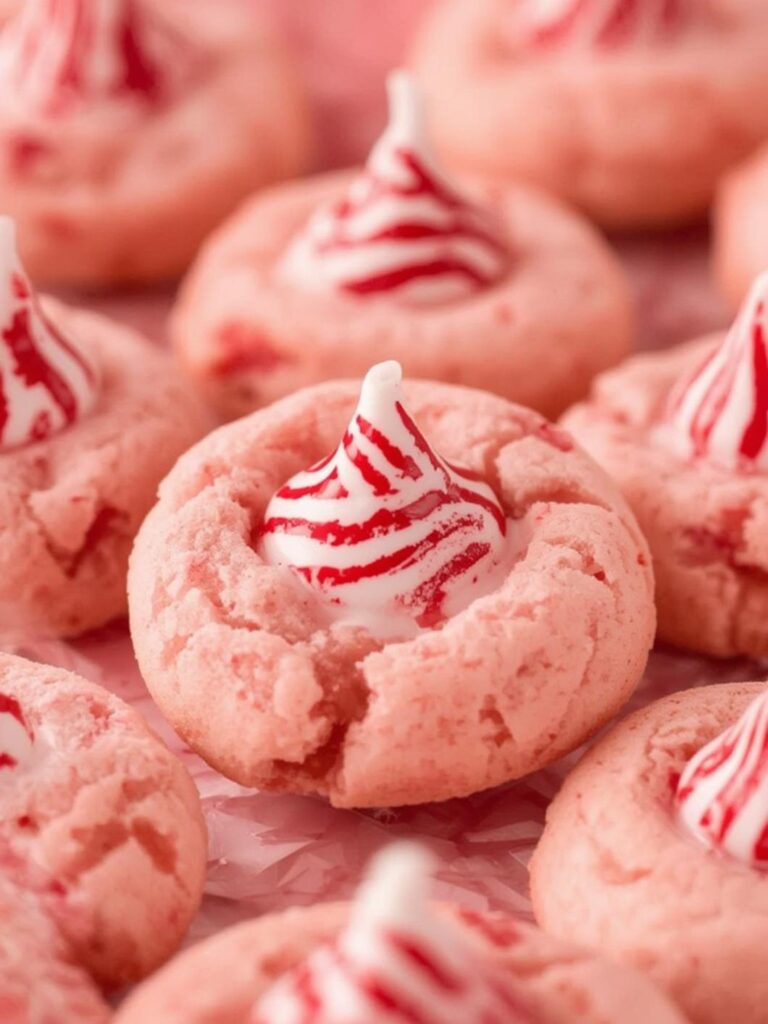
Strawberry Kiss Cookies: The 15 Ultimate Steps for the Sweetest Treat
Soft, chewy strawberry-flavored cookies rolled in sugar and topped with a classic chocolate kiss — an easy, festive treat perfect for any occasion.
- Total Time: 45 minutes
- Yield: 36 cookies 1x
Ingredients
2 1/4 cups all-purpose flour
1 teaspoon baking soda
1/2 teaspoon salt
1 cup unsalted butter, softened
1 cup granulated sugar
1 large egg
1 (3 oz) package strawberry gelatin mix
1 teaspoon vanilla extract
2 tablespoons milk
Optional: pink or red food coloring
36 chocolate kisses, unwrapped
1/4 cup granulated sugar or sprinkles for rolling
Instructions
1. Preheat oven to 375°F (190°C) and line baking sheets with parchment paper.
2. In a medium bowl, whisk together flour, baking soda, and salt. Set aside.
3. In a large bowl, beat softened butter and granulated sugar until light and fluffy, about 2–3 minutes.
4. Add egg and vanilla extract and mix until combined.
5. Gradually mix in the strawberry gelatin until fully incorporated. Add food coloring if using.
6. Slowly add dry ingredients to wet ingredients, mixing on low speed until just combined.
7. Add milk one tablespoon at a time if dough feels too stiff.
8. Optional: Chill dough for 30 minutes to reduce spreading.
9. Roll dough into 1-inch balls and roll each ball in sugar or sprinkles.
10. Place dough balls 2 inches apart on prepared baking sheets.
11. Bake for 8–10 minutes, until edges are set and cookies look slightly puffy.
12. Immediately press a chocolate kiss into the center of each hot cookie.
13. Allow cookies to cool on baking sheet for 5 minutes, then transfer to a wire rack to cool completely.
Notes
Unwrap chocolate kisses before baking so they are ready when cookies come out of the oven. Do not overbake — cookies should look slightly underdone in the center for a soft texture. Chilling the dough helps cookies keep their shape. Store in an airtight container for up to 5 days or freeze for longer storage. Try variations with dark chocolate, white chocolate hugs, or festive sprinkles.
- Prep Time: 20 minutes
- Cook Time: 10 minutes
- Category: Dessert
- Method: Baking
- Cuisine: American
- Diet: Vegetarian
Nutrition
- Serving Size: 1 cookie
- Calories: 150
- Sugar: 14g
- Sodium: 110mg
- Fat: 7g
- Saturated Fat: 4g
- Unsaturated Fat: 2.5g
- Trans Fat: 0g
- Carbohydrates: 20g
- Fiber: 0g
- Protein: 2g
- Cholesterol: 20mg
Essential Ingredients for the Perfect Batch
Gathering your ingredients is the first step toward baking perfection. For this recipe, you will need a combination of basic baking staples along with a few special items to achieve that signature strawberry flavor and color. Ultimately, using high-quality ingredients will result in the best-tasting strawberry kiss cookies.
For the Cookie Dough:
- All-Purpose Flour: This forms the base structure of our cookies.
- Baking Soda: This leavening agent helps the cookies rise and become soft.
- Salt: A small amount enhances all the other flavors.
- Unsalted Butter: Make sure it’s softened to room temperature for proper creaming.
- Granulated Sugar: This provides the primary sweetness for the cookies.
- Egg: One large egg binds the ingredients together.
- Strawberry Gelatin Mix: This is the secret weapon for both flavor and that lovely pink color. Do not use sugar-free gelatin, as it will alter the taste and texture.
- Vanilla Extract: It adds a wonderful depth of flavor that complements the strawberry.
- Milk: Just a splash helps bring the dough to the perfect consistency.
- Pink or Red Food Coloring (Optional): If you want a more vibrant color, a few drops will do the trick.
For the Topping:
- Chocolate Kisses: The classic Hershey’s Kisses are perfect. Be sure to unwrap them before you start baking to save time.
- Extra Granulated Sugar or Sprinkles: For rolling the dough balls before baking, which adds a delightful sparkle and a slightly crunchy exterior.
Strawberries themselves are a wonderful fruit, packed with vitamins and antioxidants. According to Healthline, they are an excellent source of vitamin C and manganese. While this recipe uses gelatin for flavor, its inspiration comes from this beloved berry.
Step-by-Step Instructions
Now, let’s get to the fun part—baking! Following these steps carefully will ensure your strawberry kiss cookies turn out perfectly every single time.
- Preheat and Prepare: First, preheat your oven to 375°F (190°C). Then, line two baking sheets with parchment paper to prevent sticking.
- Combine Dry Ingredients: In a medium bowl, whisk together the all-purpose flour, baking soda, and salt. After that, set the bowl aside.
- Cream Butter and Sugar: In a separate large bowl, using a stand mixer or a hand mixer, beat the softened unsalted butter and granulated sugar together until the mixture is light and fluffy. This usually takes about 2-3 minutes.
- Add Wet Ingredients: Next, beat in the egg and vanilla extract until they are well combined.
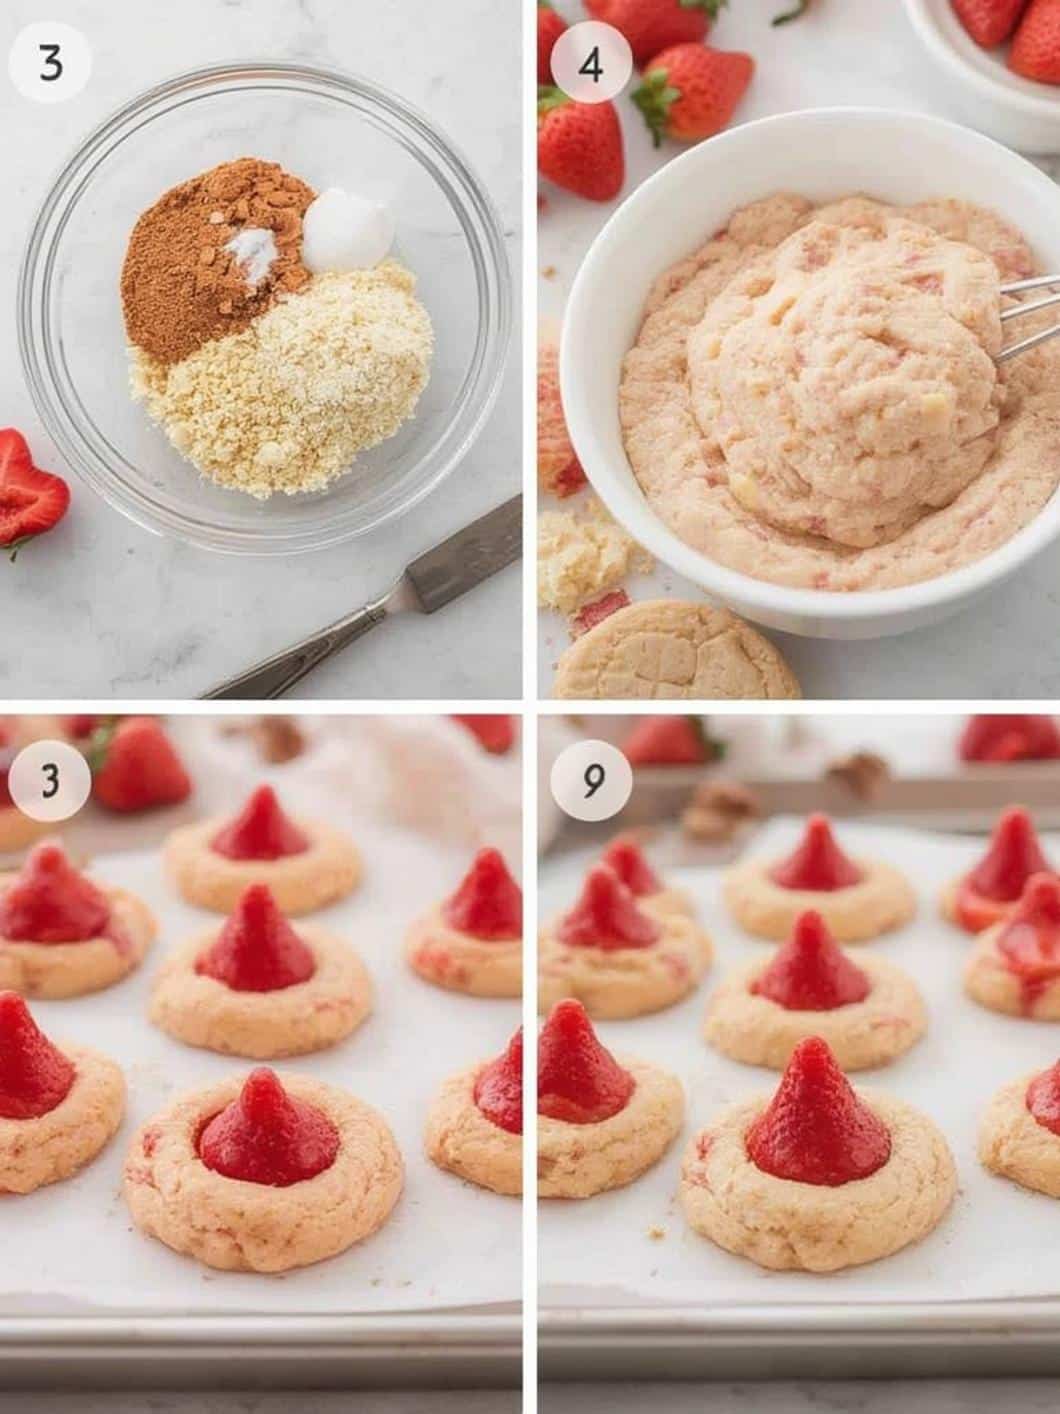
- Incorporate Gelatin: Gradually add the strawberry gelatin mix to the wet ingredients, mixing on low speed until it is fully incorporated. If you are using food coloring, this is the time to add it.
- Combine Wet and Dry Mixtures: Slowly add the dry flour mixture to the wet mixture in batches, mixing on low speed. Be careful not to overmix; just mix until the flour is no longer visible.
- Add Milk: If the dough seems too stiff, add the milk one tablespoon at a time until it reaches a manageable consistency.
- Chill the Dough (Optional but Recommended): For best results, cover the bowl with plastic wrap and chill the dough for at least 30 minutes. Consequently, this helps prevent the cookies from spreading too much while baking.
- Shape the Cookies: Once chilled, scoop the dough and roll it into 1-inch balls. Then, roll each ball in a small bowl of granulated sugar or sprinkles to coat it completely.
- Arrange on Baking Sheet: Place the sugar-coated dough balls about 2 inches apart on your prepared baking sheets.
- Bake the Cookies: Bake for 8-10 minutes, or until the edges are lightly golden and the centers are set. The cookies will look slightly puffy.
- Add the Chocolate Kiss: Immediately after removing the cookies from the oven, gently press one unwrapped chocolate kiss into the center of each warm cookie. As a result, the cookie will crack slightly around the edges, which is perfectly normal and gives them their signature look.
- Cool the Cookies: Finally, let the cookies cool on the baking sheet for a few minutes before transferring them to a wire rack to cool completely. The chocolate will be soft at first, so allow it to set fully before storing the cookies.
Pro Tips for the Best Results
To elevate your strawberry kiss cookies from good to absolutely unforgettable, keep these expert tips in mind. Firstly, always use room temperature ingredients, especially the butter and egg. This ensures they mix together smoothly, creating a uniform dough. Secondly, don’t skip chilling the dough. Chilling solidifies the fat in the butter, which means the cookies will spread less and maintain a softer, chewier texture. Furthermore, be sure to unwrap all your chocolate kisses before the cookies come out of the oven. You need to work quickly while the cookies are hot, so having the chocolates ready is essential for a smooth process.
Another important tip involves the baking time. Be careful not to overbake these cookies. You want to pull them from the oven when the edges are just set and the centers look slightly underdone. They will continue to bake on the hot pan after you remove them. This method guarantees a soft, chewy center. Lastly, if you want a bolder strawberry flavor, you can add a quarter teaspoon of strawberry extract along with the vanilla. This will intensify the fruity notes and make your strawberry kiss cookies even more irresistible.
Fun Variations and Easy Substitutions
While the classic strawberry kiss cookies recipe is fantastic on its own, there are many ways to customize it to your liking. For instance, you can easily change the type of chocolate kiss you use. Dark chocolate kisses provide a rich, intense contrast to the sweet strawberry cookie, while white chocolate “hugs” create a creamy, beautiful swirl. You could even use caramel-filled or almond kisses for a surprising twist.
In addition, you can mix things up with the coating. Instead of granulated sugar, try rolling the dough balls in festive nonpareils or sparkling sanding sugar for an extra pop of color and texture. For an even more decadent treat, consider adding half a cup of white chocolate chips directly into the cookie dough. If you enjoy the combination of fruit and white chocolate, you should also try these delightful strawberry cheesecake cookies. If you find yourself out of strawberry gelatin, a strawberry cake mix can sometimes be used as a substitute, though you may need to adjust the flour and sugar amounts accordingly.
How to Properly Store Your Strawberry Kiss Cookies
Proper storage is key to keeping your cookies fresh and delicious for as long as possible. Once the strawberry kiss cookies have cooled completely and the chocolate has fully hardened, you can store them in an airtight container at room temperature. They will typically stay fresh for up to five days. To maintain their soft texture, you can place a slice of bread in the container with them; the cookies will absorb moisture from the bread, keeping them from becoming dry.
If you want to store them for longer, these cookies also freeze exceptionally well. You can freeze the baked cookies or the raw dough balls. To freeze baked cookies, arrange them in a single layer on a baking sheet and place them in the freezer until solid. After that, transfer them to a freezer-safe bag or container, where they will keep for up to three months. To freeze the dough, place the rolled balls on a baking sheet to flash-freeze, then transfer them to a freezer bag. You can bake them directly from frozen, simply adding a few extra minutes to the baking time. According to the Mayo Clinic, proper food storage is crucial for preventing foodborne illness.
Conclusion
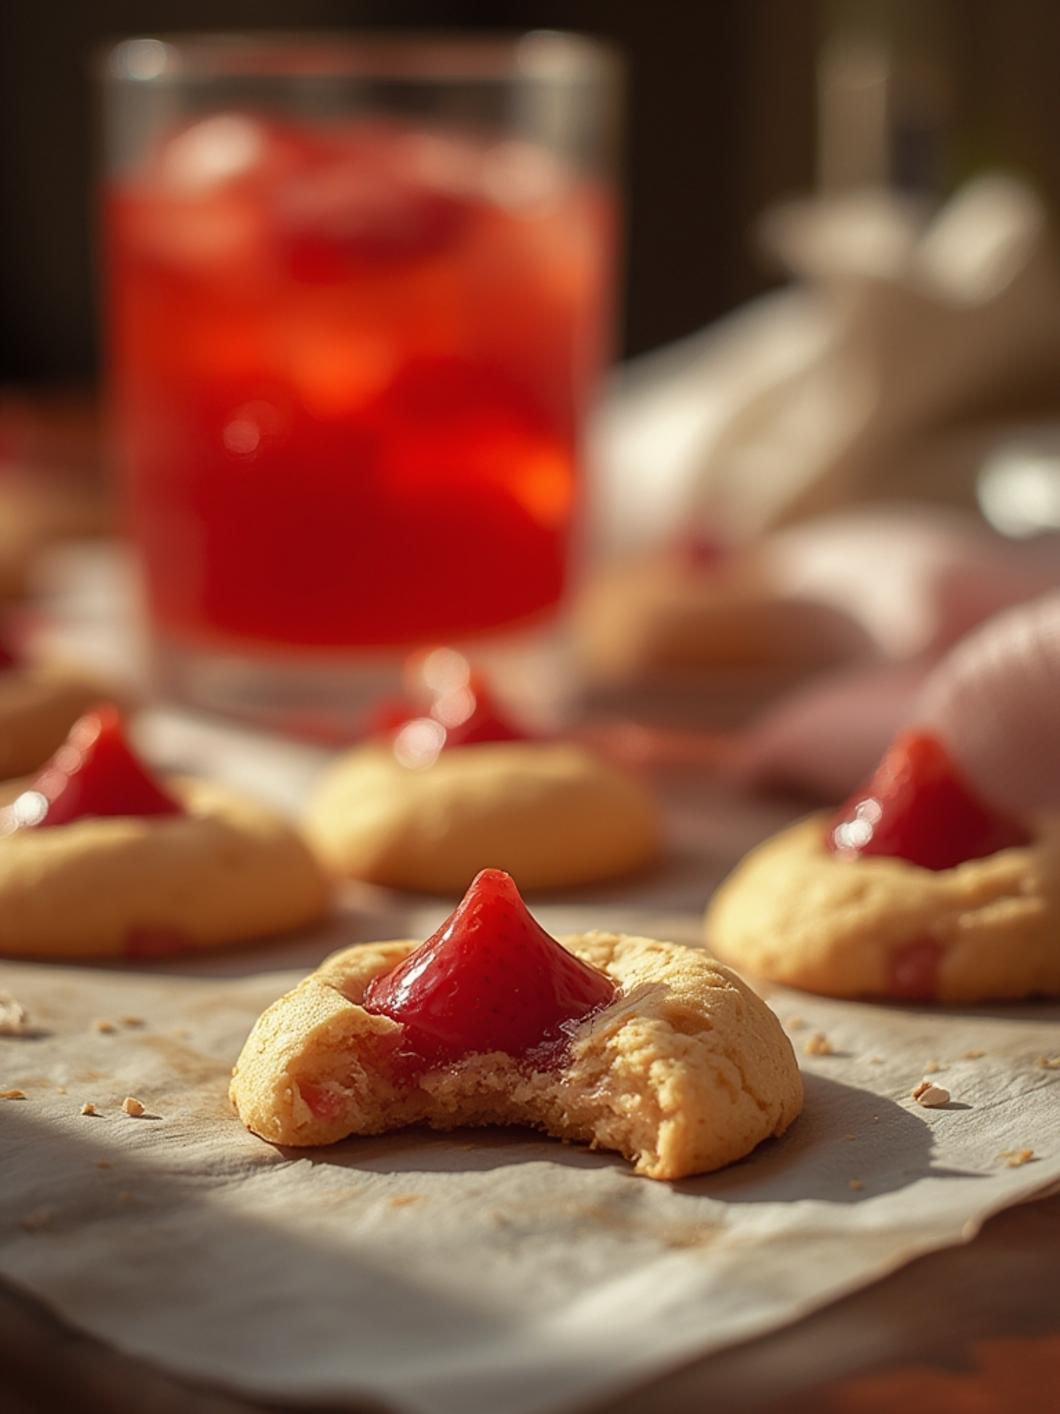
In summary, these Strawberry Kiss Cookies are a delightful treat that perfectly balances ease and elegance. With their soft texture, sweet strawberry flavor, and iconic chocolate center, they are destined to become a favorite recipe. This guide has provided you with everything needed, from essential ingredients to expert tips, ensuring a perfect batch every time. Baking these cookies is a joyful experience that yields a beautiful and delicious result. Therefore, go ahead and share these wonderful strawberry kiss cookies with your friends and family for any occasion.
Frequently Asked Questions
Can I use fresh strawberries instead of gelatin mix?
Unfortunately, using fresh strawberries is not recommended for this specific recipe. Fresh fruit would add too much moisture to the dough, significantly changing the texture and causing the cookies to spread too much. The strawberry gelatin mix provides concentrated flavor and color without excess liquid, which is crucial for achieving the perfect cookie structure.
Why did my cookies come out flat?
Flat cookies are often the result of dough that is too warm or butter that is too soft. To prevent this, make sure your butter is softened but not melted. Chilling the dough for at least 30 minutes before baking is also a critical step that helps the cookies hold their shape. Finally, double-check your flour measurement; using too little flour can also lead to excessive spreading.
Can I make the dough ahead of time?
Yes, absolutely! The cookie dough can be made up to three days in advance and stored in an airtight container in the refrigerator. When you’re ready to bake, you may need to let the dough sit at room temperature for about 15-20 minutes to soften slightly, making it easier to scoop and roll into balls. You can also freeze the dough for up to three months.