Spring is a time of renewal, vibrant colors, and delightful celebrations. Consequently, our baking should reflect that same joyful spirit. If you’re looking for a treat that is as beautiful as it is delicious, then you’ve come to the right place. We are diving into the enchanting world of Pastel Bunny Macarons. These delicate, chewy, and utterly adorable cookies are the perfect centerpiece for any Easter brunch, spring-themed party, or simply a fun weekend baking project. While they may seem intimidating at first, this guide will break down every step, therefore ensuring you can create these charming confections with confidence. Get ready to impress your friends and family with a batch of homemade Pastel Bunny Macarons that taste even better than they look.
What Exactly Are French Macarons?
Before we begin our baking adventure, it’s important to understand what we’re making. Frequently, people confuse French macarons with American macaroons, but they are vastly different. Macaroons are typically dense, chewy mounds of shredded coconut, whereas French macarons are delicate, meringue-based sandwich cookies. Furthermore, their signature look includes a smooth, domed top, a ruffled edge called the “foot,” and a moist, chewy interior. The shells are made primarily from a few key ingredients: finely ground almond flour, egg whites, and sugar. The magic, however, lies in the technique. Achieving that perfect texture and appearance requires precision and a bit of patience. For that reason, following the steps carefully is crucial for success. These Pastel Bunny Macarons use this classic French method to create a truly special treat.
Print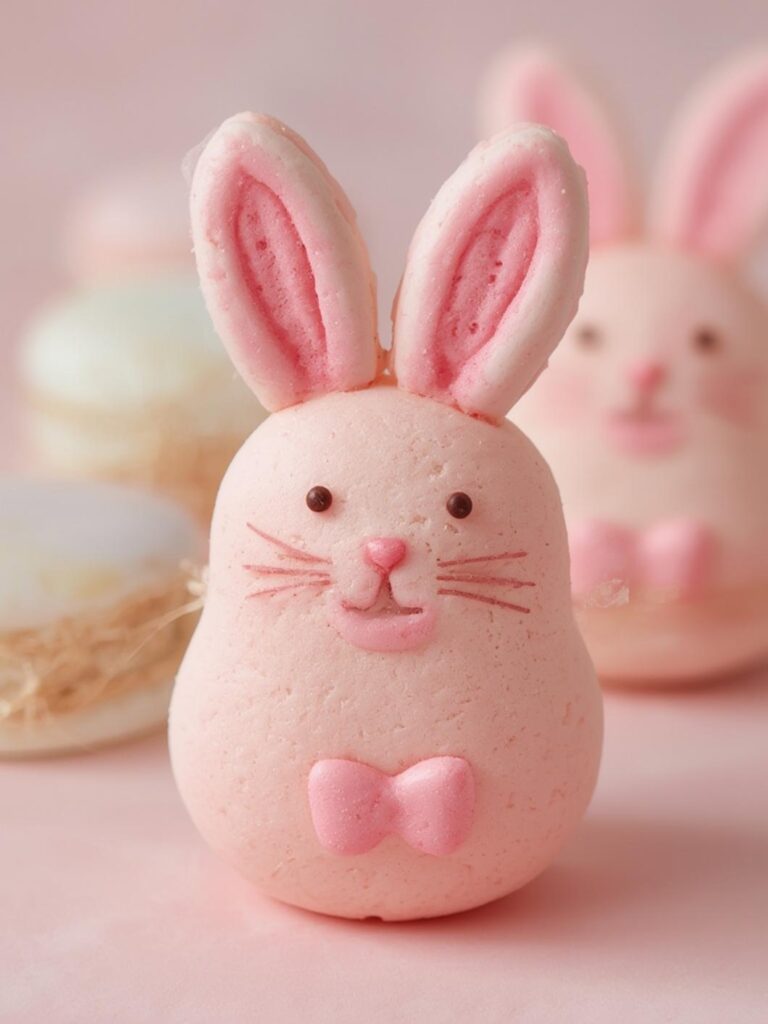
Pastel Bunny Macarons
Delicate, chewy, and adorable pastel bunny-shaped macarons, perfect as the centerpiece for any Easter brunch or spring-themed party. These meringue-based sandwich cookies have a smooth, domed top, a ruffled edge, and a moist, chewy interior.
- Total Time: 1 hour 45 minutes
- Yield: 24 macarons
Ingredients
Fine Almond Flour
Powdered Sugar
Granulated Sugar
Aged or Room-Temperature Egg Whites
Cream of Tartar
Vanilla Extract
Pastel Gel Food Coloring
For Vanilla Buttercream Filling: unsalted butter, powdered sugar, milk or cream, vanilla extract
For White Chocolate Ganache Filling: heavy cream, white chocolate chips
For Decorating: food-safe edible ink pen, pink luster dust (optional)
Instructions
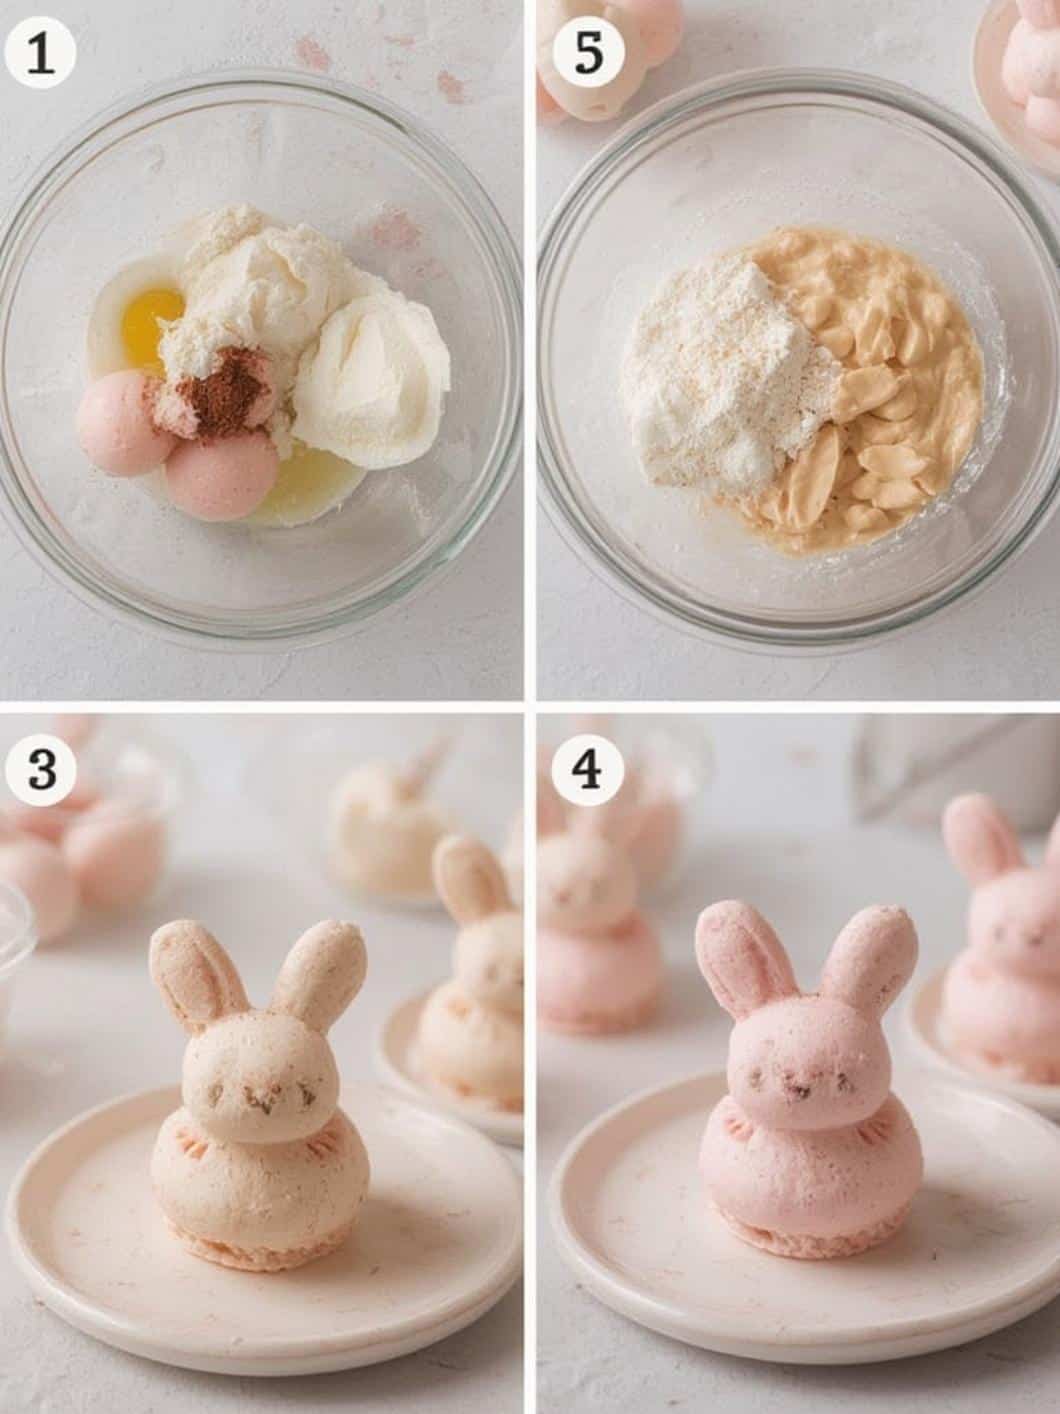
1. Precisely weigh and sift the almond flour and powdered sugar together at least twice.
2. In a clean bowl, whisk egg whites and cream of tartar until foamy, then gradually add granulated sugar and beat on high until stiff, glossy peaks form.
3. Gently fold the dry ingredients into the meringue in three parts until the batter flows like slow-moving lava.
4. Divide the batter if using multiple colors, gently fold in gel food coloring, and transfer to a piping bag with a small round tip.
5. On a lined baking sheet, pipe a circle for the head and two elongated ovals for ears, then tap the sheet firmly to release air bubbles.
6. Let the piped macarons rest at room temperature for 30-60 minutes, until a dry skin forms.
7. Preheat the oven to 300-325°F (150-163°C) and bake for 12-15 minutes until the shells are firm.
8. Let the macaron shells cool completely on the baking sheet before removing.
9. Prepare your desired filling, such as vanilla buttercream or white chocolate ganache.
10. Pipe filling onto the flat side of one macaron shell and sandwich with another.
11. Decorate the bunny faces using an edible ink pen and add pink luster dust to the ears if desired.
Notes
Using a digital kitchen scale is critical for accurate measurements. For the best texture, store filled macarons in an airtight container in the fridge for 24 hours to mature before serving.
- Prep Time: 45 minutes
- Cook Time: 15 minutes
- Category: Dessert
- Method: Baking
- Cuisine: French
Nutrition
- Serving Size: 1 macaron
- Calories: 95
- Sugar: 10g
- Sodium: 15mg
- Fat: 5g
- Saturated Fat: 2g
- Unsaturated Fat: 3g
- Trans Fat: 0g
- Carbohydrates: 12g
- Fiber: 1g
- Protein: 2g
- Cholesterol: 10mg
Essential Tools and Ingredients for Pastel Bunny Macarons
To achieve macaron perfection, you need to start with the right foundation. This means gathering the correct ingredients and tools before you even think about cracking an egg. In baking, especially with something as precise as macarons, preparation is undoubtedly half the battle. As a result, having everything measured and ready will make the process much smoother.
Key Ingredients
The quality of your ingredients directly impacts the final product. For example, using fresh, room-temperature egg whites is non-negotiable for a stable meringue. Here is a list of what you will need:
- Fine Almond Flour: This is the star of the show. Do not substitute with almond meal or any other flour. Almond flour is blanched and ground very finely, which is essential for a smooth shell. In addition to its texture, almond flour offers several nutritional benefits, as it’s a great source of healthy fats and protein, which you can read more about at Healthline.
- Powdered Sugar: Also known as confectioners’ sugar, this sweetens the shells and helps create their delicate structure.
- Granulated Sugar: This is used to create the strong, stable meringue that serves as the backbone of your macaron shells. Using it is a standard part of many baking recipes, and understanding its role in desserts can be quite interesting, as explained by experts at the Mayo Clinic.
- Aged or Room-Temperature Egg Whites: Using egg whites that are not cold is crucial. Cold egg whites do not whip up as well, which can result in a weak meringue.
- Cream of Tartar: A pinch of this acidic powder helps stabilize the egg whites, therefore making them less likely to collapse.
- Vanilla Extract: For a hint of classic flavor in both the shells and the filling.
- Pastel Gel Food Coloring: It is very important to use gel-based food coloring. Liquid coloring adds too much moisture, which can ruin the macaron batter.
Baking Equipment You’ll Need
Precision is the name of the game with macarons. Therefore, having the right equipment is just as important as the ingredients. You don’t need a professional kitchen, but a few key items are essential for success.
- Digital Kitchen Scale: This is the most important tool you will use. Macaron recipes rely on exact ratios, so measuring ingredients by weight, not volume, is critical.
- Stand Mixer or a Powerful Hand Mixer: Whipping egg whites to stiff peaks takes time and power. A stand mixer makes this effortless, but a hand mixer will also work.
- Sifter or Fine-Mesh Sieve: You will need to sift your almond flour and powdered sugar together at least twice to remove any lumps and ensure a super-smooth finish on your Pastel Bunny Macarons.
- Silicone Spatula: For the delicate folding process known as “macronage.”
- Piping Bags and a Small Round Piping Tip: Essential for piping uniform shapes for the bunny body and ears.
- Silicone Baking Mats or Parchment Paper: These provide a non-stick surface for your macarons to bake on. Silicone mats often yield more consistent results.
- Bunny Template (Optional): You can print a simple bunny head shape to place under your parchment paper as a guide for piping.
Step-by-Step Instructions
Now that you have everything ready, it’s time to begin making your beautiful macarons. Follow these instructions carefully, and remember that practice makes perfect. Don’t be discouraged if your first batch isn’t flawless; consequently, each attempt will teach you something new.
1. Prepare the Dry Ingredients
First, weigh your almond flour and powdered sugar precisely using the digital kitchen scale. Next, sift them together into a large bowl. To ensure an extra-fine texture, it is highly recommended that you sift them a second or even a third time. This step is tedious but absolutely essential for smooth macaron shells.
2. Create a Strong Meringue
In the clean bowl of your stand mixer, add the room-temperature egg whites and a pinch of cream of tartar. Begin whisking on a low speed until the mixture becomes foamy. Then, gradually increase the speed to medium and slowly sprinkle in the granulated sugar, one tablespoon at a time. Once all the sugar is incorporated, turn the mixer to high and beat until the meringue is glossy and forms stiff peaks. This means when you lift the whisk, the peak that forms should stand straight up without drooping.
3. The Art of Macronage
Now comes the most critical step: macronage. This is the process of folding the dry ingredients into the meringue. Add about one-third of the sifted almond flour mixture to the meringue and gently fold it in with your spatula. Continue adding the dry ingredients in two more batches, folding until just combined. The goal is to deflate some of the air from the meringue until the batter flows like slow-moving lava. It should fall off the spatula in a thick, continuous ribbon. Be careful not to over-mix, as this will cause the batter to become too thin.
4. Piping the Bunny Shapes
Prepare your piping bag with a small, round tip. If you are using multiple pastel colors, divide the batter into separate bowls and gently fold in a drop of gel food coloring into each. Then, fill your piping bags. On your baking sheets lined with parchment or a silicone mat, first pipe a small circle for the bunny’s head. Immediately after, pipe two smaller, elongated ovals on top for the ears. Tap the baking sheet firmly on the counter a few times to release any trapped air bubbles.
5. Resting the Macarons
This step is crucial for developing the signature “feet.” You must let the piped macarons rest at room temperature for 30-60 minutes, or until they form a dry skin on the surface. You should be able to gently touch one without any batter sticking to your finger. The resting time will vary depending on the humidity in your kitchen.
6. Baking to Perfection
Preheat your oven to around 300-325°F (150-163°C). Oven temperatures can vary, so you may need to experiment. Bake the macarons for 12-15 minutes. They are done when the shells are firm and don’t wobble when you touch them. Let them cool completely on the baking sheet before attempting to remove them.
Choosing and Making the Perfect Filling
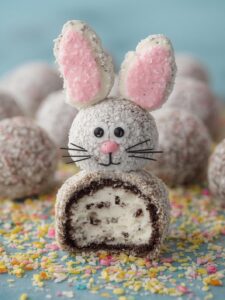
A macaron is only as good as its filling. The filling adds moisture and flavor, which melds with the shells during the maturation process. For our Pastel Bunny Macarons, a light and complementary filling works best. You can pair up the cooled shells and fill them right away. Perhaps you want another festive treat for your table; these Easter Egg Oreo Balls are a no-bake option that everyone will love.
Classic Vanilla Buttercream
You can’t go wrong with a simple vanilla buttercream. Simply beat together softened unsalted butter, powdered sugar, a splash of milk or cream, and a teaspoon of vanilla extract until light and fluffy. It’s a classic choice for a reason and pairs wonderfully with the almond-flavored shells.
White Chocolate Ganache
For a richer, creamier filling, a white chocolate ganache is an excellent choice. To make it, heat heavy cream until it just begins to simmer, then pour it over a bowl of white chocolate chips. Let it sit for a few minutes, then stir until smooth. Let it cool and thicken before piping it onto your macaron shells.
Decorating Your Adorable Bunny Macarons
Once your macarons are filled, it’s time for the final, fun step: bringing the bunnies to life! This is where you can get truly creative. For the most charming results, use a food-safe edible ink pen to draw on two small dots for eyes and a tiny “x” for the nose and mouth. For an extra touch of cuteness, you can use a fine-tipped paintbrush to dust a little bit of pink luster dust onto the inner part of the ears. This simple detail makes your Pastel Bunny Macarons look professionally made. These sweet treats are perfect for an Easter celebration, alongside a savory breakfast like a delicious Hash Brown Egg Casserole to balance out the sweetness.
Conclusion

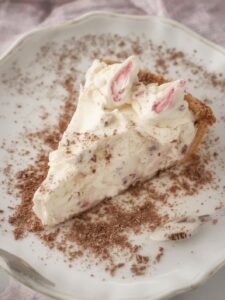
Creating beautiful Pastel Bunny Macarons from scratch is an incredibly rewarding baking experience. Although the process requires precision and patience, the final result is a truly spectacular and delicious treat perfect for any spring gathering. By following these steps carefully, from preparing the ingredients to the final decorations, you can master the art of the French macaron. Ultimately, you’ll have a stunning batch of cookies that will bring a smile to everyone’s face. So, embrace the challenge, enjoy the process, and get ready to share your adorable creations. For another show-stopping dessert, consider trying an Easter Swirl Pie as well.
Frequently Asked Questions (FAQ)
Can I use regular all-purpose flour instead of almond flour?
Unfortunately, you cannot. The entire structure, texture, and flavor of a French macaron are dependent on using finely ground almond flour. Substituting it will not produce a macaron and will result in a completely different, likely unsuccessful, cookie.
How should I store my finished Pastel Bunny Macarons?
Macarons are best after they have “matured” in the refrigerator for 24 hours. Store the filled macarons in an airtight container in the fridge for up to 3-4 days. This allows the filling to soften the shells slightly, creating the perfect chewy texture.
Why is a kitchen scale so important for making macarons?
Baking is a science, and macarons are a prime example of that. The recipe relies on very specific ratios of ingredients. Measuring by volume (with cups) can be highly inaccurate, but measuring by weight (with a scale) ensures you get the exact amounts needed for a successful batter every time.