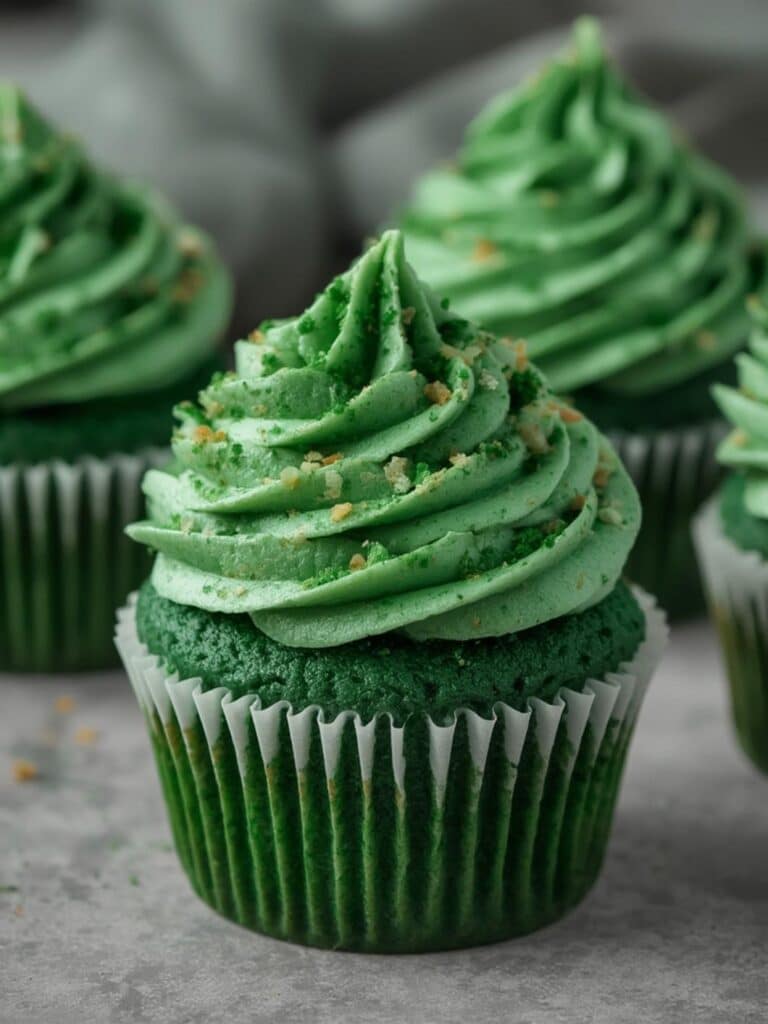
Welcome to the wonderful world of vibrant, delicious desserts! If you’re a fan of the classic red velvet cake, you are absolutely going to fall in love with its festive cousin. Today, we are diving deep into a recipe that is as delightful to look at as it is to eat: **green velvet cupcakes**. These little gems boast the same delicate crumb, subtle cocoa and vanilla flavor, and tangy finish as their famous counterpart, but with a brilliant green hue. Consequently, they are perfect for celebrations like St. Patrick’s Day, Christmas, or any event that could use a pop of color. This comprehensive guide will walk you through everything you need to know, ensuring your cupcakes turn out perfectly moist and topped with the dreamiest cream cheese frosting every single time.
Baking can sometimes feel intimidating, but this recipe is designed to be straightforward and fun. Therefore, whether you are a seasoned baker or just starting, you can achieve professional-looking results right in your own kitchen. We will cover the essential ingredients that create that signature “velvet” texture, provide a detailed step-by-step process, and share some expert tips to guarantee success. So, get your apron ready, because these green velvet cupcakes are about to become your new go-to treat for any special occasion.
The Alluring History of Velvet Cakes
Before we jump into baking, it’s interesting to understand where “velvet” cakes came from. The term “velvet” was first used in the Victorian era to describe cakes with a remarkably soft and smooth crumb. Initially, this texture was achieved by using ingredients like almond flour and cornstarch to soften the proteins in all-purpose flour. Moreover, the name itself was a promise of a luxurious, melt-in-your-mouth experience, a significant departure from the coarser, drier cakes common at the time.
The iconic red velvet cake gained widespread popularity in the United States during the early 20th century. Its unique flavor profile, characterized by a hint of cocoa and the tang of buttermilk and vinegar, set it apart. The reddish color was originally a result of a chemical reaction between non-Dutched cocoa powder and acidic ingredients like buttermilk. However, as cocoa processing changed, bakers started adding red food coloring to enhance the hue, leading to the bright red cake we know today. Following this trend, bakers began experimenting with other colors, and thus, the green velvet cupcake was born as a festive and fun alternative.
Print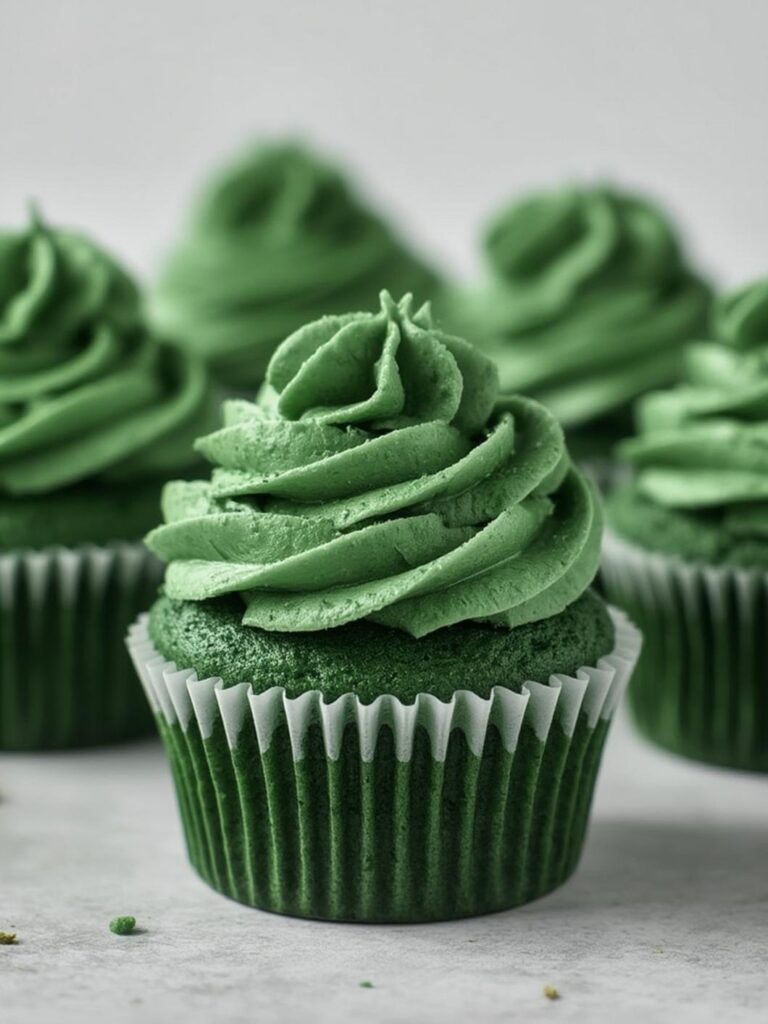
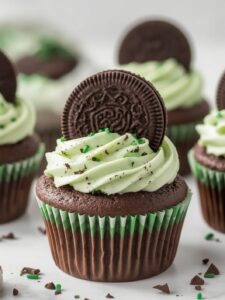
Green Velvet Cupcakes: The 15 Ultimate Steps for Irresistibly Moist Treats
Moist and tender green velvet cupcakes with a hint of cocoa and vanilla, topped with rich cream cheese frosting for a festive and irresistible treat.
- Total Time: 40 minutes
- Yield: 12 cupcakes 1x
Ingredients
For the Cupcakes:
1 1/4 cups all-purpose flour
1 cup granulated sugar
1 tablespoon unsweetened cocoa powder
1 teaspoon baking soda
1/4 teaspoon salt
1 cup vegetable oil
2 large eggs, room temperature
1/2 cup buttermilk, room temperature
1 teaspoon white vinegar
1 teaspoon pure vanilla extract
1/2–1 teaspoon green gel food coloring
For the Cream Cheese Frosting:
8 ounces block cream cheese, softened
1/2 cup unsalted butter, softened
3 cups powdered sugar, sifted
1 teaspoon vanilla extract
Pinch of salt
Optional: green sprinkles for garnish
Instructions
1. Preheat oven to 350°F (175°C) and line a 12-cup muffin tin with paper liners.
2. In a medium bowl, whisk together flour, sugar, cocoa powder, baking soda, and salt.
3. In a large bowl, whisk together vegetable oil and eggs until smooth.
4. Mix in vanilla extract.
5. In a small bowl, combine buttermilk and vinegar.
6. Gradually add dry ingredients to wet ingredients, mixing just until combined.
7. Slowly pour in the buttermilk mixture and mix until smooth without overmixing.
8. Add green gel food coloring and stir until evenly colored.
9. Divide batter evenly among liners, filling each about two-thirds full.
10. Bake for 18–22 minutes or until a toothpick inserted in the center comes out clean.
11. Cool in pan for 5 minutes, then transfer to a wire rack to cool completely.
12. Beat softened cream cheese and butter together until smooth and fluffy.
13. Gradually add powdered sugar, mixing on low until incorporated.
14. Add vanilla extract and salt, then beat until creamy.
15. Frost completely cooled cupcakes and garnish as desired before serving.
Notes
Do not overmix the batter to maintain a soft, velvety texture.
Use gel food coloring for vibrant color without thinning the batter.
Cupcakes can be stored unfrosted at room temperature for 2 days.
Frosted cupcakes should be refrigerated up to 4 days.
Bring to room temperature before serving for best flavor and texture.
- Prep Time: 20 minutes
- Cook Time: 20 minutes
- Category: Dessert
- Method: Baked
- Cuisine: American
- Diet: Vegetarian
Nutrition
- Serving Size: 1 cupcake
- Calories: 410
- Sugar: 34g
- Sodium: 210mg
- Fat: 24g
- Saturated Fat: 9g
- Unsaturated Fat: 13g
- Trans Fat: 0g
- Carbohydrates: 45g
- Fiber: 0g
- Protein: 3g
- Cholesterol: 55mg
Essential Ingredients for Perfect Green Velvet Cupcakes
The secret to incredible green velvet cupcakes lies in using the right ingredients and understanding the role each one plays. The combination of acidic elements with a leavening agent is what creates the tender, light texture. In addition, high-quality flavorings ensure a rich and satisfying taste. Let’s break down the key components you will need.
The Wet Ingredients
The wet ingredients are fundamental for moisture and flavor. First and foremost, buttermilk is non-negotiable for an authentic velvet cake. Its acidity tenderizes the gluten in the flour, resulting in a softer crumb. It also reacts with the baking soda to help the cupcakes rise. Similarly, a small amount of white vinegar further enhances this reaction and adds to the signature tang. Vegetable oil, as opposed to butter, provides superior moisture that keeps the cupcakes fresh for longer. Finally, eggs bind everything together, while a good quality vanilla extract provides a warm, aromatic base flavor.
The Dry Ingredients
For the dry mixture, you will need all-purpose flour, granulated sugar, baking soda, a pinch of salt, and a small amount of unsweetened cocoa powder. It’s crucial to use only a tablespoon or two of cocoa powder; its purpose is to add depth of flavor, not to make the cupcakes taste overtly chocolatey. In fact, too much cocoa can overpower the delicate vanilla and tangy notes and can also muddy the green color. The baking soda acts as the primary leavener, while the salt balances the sweetness and enhances all the other flavors.
The “Green” Element
To achieve that stunning emerald color, you’ll need green food coloring. For the most vibrant and concentrated color without adding excess liquid to the batter, gel food coloring is highly recommended. You can start with a small amount and add more until you reach your desired shade of green. Remember that the color of the batter will darken slightly as it bakes, so aim for a shade just a little brighter than you want the final product to be.
For the Classic Cream Cheese Frosting
A green velvet cupcake simply isn’t complete without a generous swirl of tangy cream cheese frosting. This simple yet decadent topping is made with full-fat block cream cheese, unsalted butter, powdered sugar, and a splash of vanilla extract. For the best results, ensure both your cream cheese and butter are softened to room temperature. This will help you achieve a silky-smooth consistency without any lumps.
Step-by-Step Instructions
Now that you have your ingredients ready, it is time to start baking! Follow these detailed steps carefully for flawless green velvet cupcakes.
- Step 1: Preparation. First, preheat your oven to 350°F (175°C). Then, line a standard 12-cup muffin tin with paper liners.
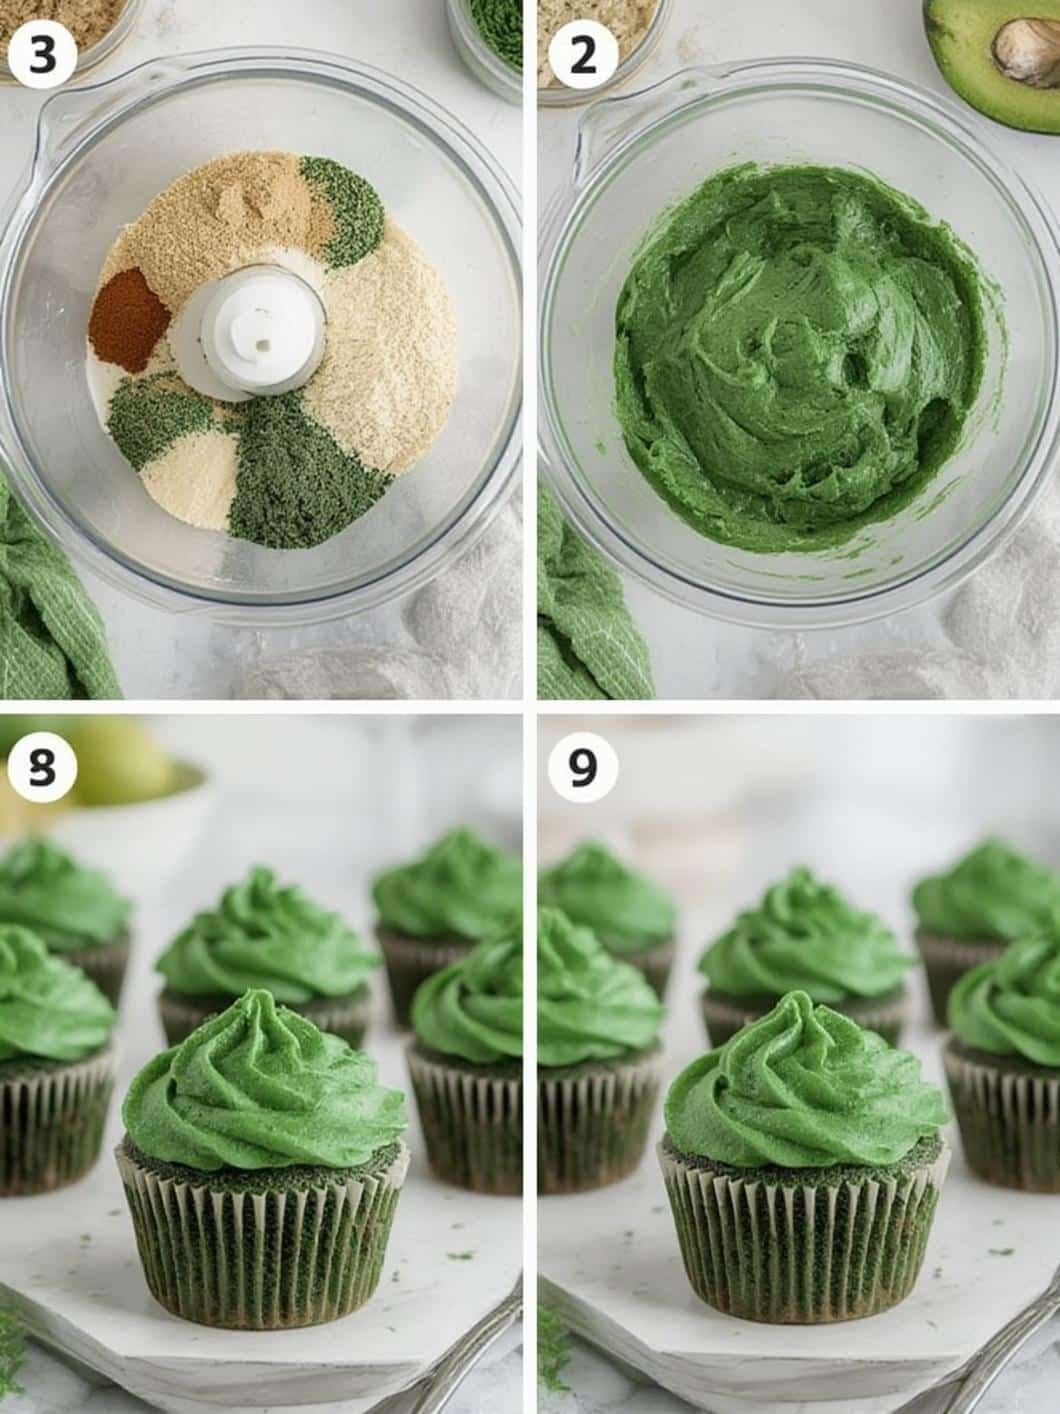
- Step 2: Combine Dry Ingredients. In a medium bowl, whisk together the all-purpose flour, granulated sugar, unsweetened cocoa powder, baking soda, and salt. Whisking helps to aerate the mixture and break up any lumps.
- Step 3: Combine Wet Ingredients. In a separate large bowl, whisk together the vegetable oil, eggs, and vanilla extract until well combined.
- Step 4: Mix Batter. Gradually add the dry ingredients to the wet ingredients, mixing on low speed with a hand mixer or stand mixer until just combined. Be careful not to overmix at this stage.
- Step 5: Add Buttermilk and Vinegar. In a small bowl, briefly stir the white vinegar into the buttermilk. With the mixer on low, slowly pour this mixture into the batter and mix until it is smooth and uniform.
- Step 6: Add Color. Add the green gel food coloring to the batter, starting with about half a teaspoon. Mix until the color is evenly distributed, adding more food coloring as needed to reach your desired shade of green.
- Step 7: Fill Cupcake Liners. Using an ice cream scoop for even portions, fill each cupcake liner about two-thirds full. This will give the cupcakes enough room to rise without overflowing.
- Step 8: Bake. Bake for 18-22 minutes, or until a wooden skewer inserted into the center of a cupcake comes out clean.
- Step 9: Cool. Let the cupcakes cool in the pan for about 5 minutes before transferring them to a wire rack to cool completely. It is essential that they are fully cooled before you begin frosting.
Mastering the Perfect Cream Cheese Frosting
The creamy, tangy frosting is the perfect complement to the moist green velvet cupcake. Making it is simple, but a few key techniques will ensure it’s absolutely perfect.
- Step 10: Start with Softened Ingredients. Make sure your block cream cheese and unsalted butter are at room temperature. This is the most important step for a smooth, non-lumpy frosting.
- Step 11: Cream the Base. In a large bowl using a hand or stand mixer, beat the softened cream cheese and butter together on medium-high speed until the mixture is light, fluffy, and completely smooth. This should take about 3-4 minutes.
- Step 12: Add Sugar Gradually. Turn the mixer down to low speed and gradually add the powdered sugar, one cup at a time. Mixing on low will prevent a sugar cloud from covering your kitchen. Once all the sugar is incorporated, scrape down the sides of the bowl.
- Step 13: Finish and Flavor. Add the vanilla extract and a pinch of salt. Increase the mixer speed to medium-high and beat for another 2-3 minutes until the frosting is exceptionally creamy and smooth.
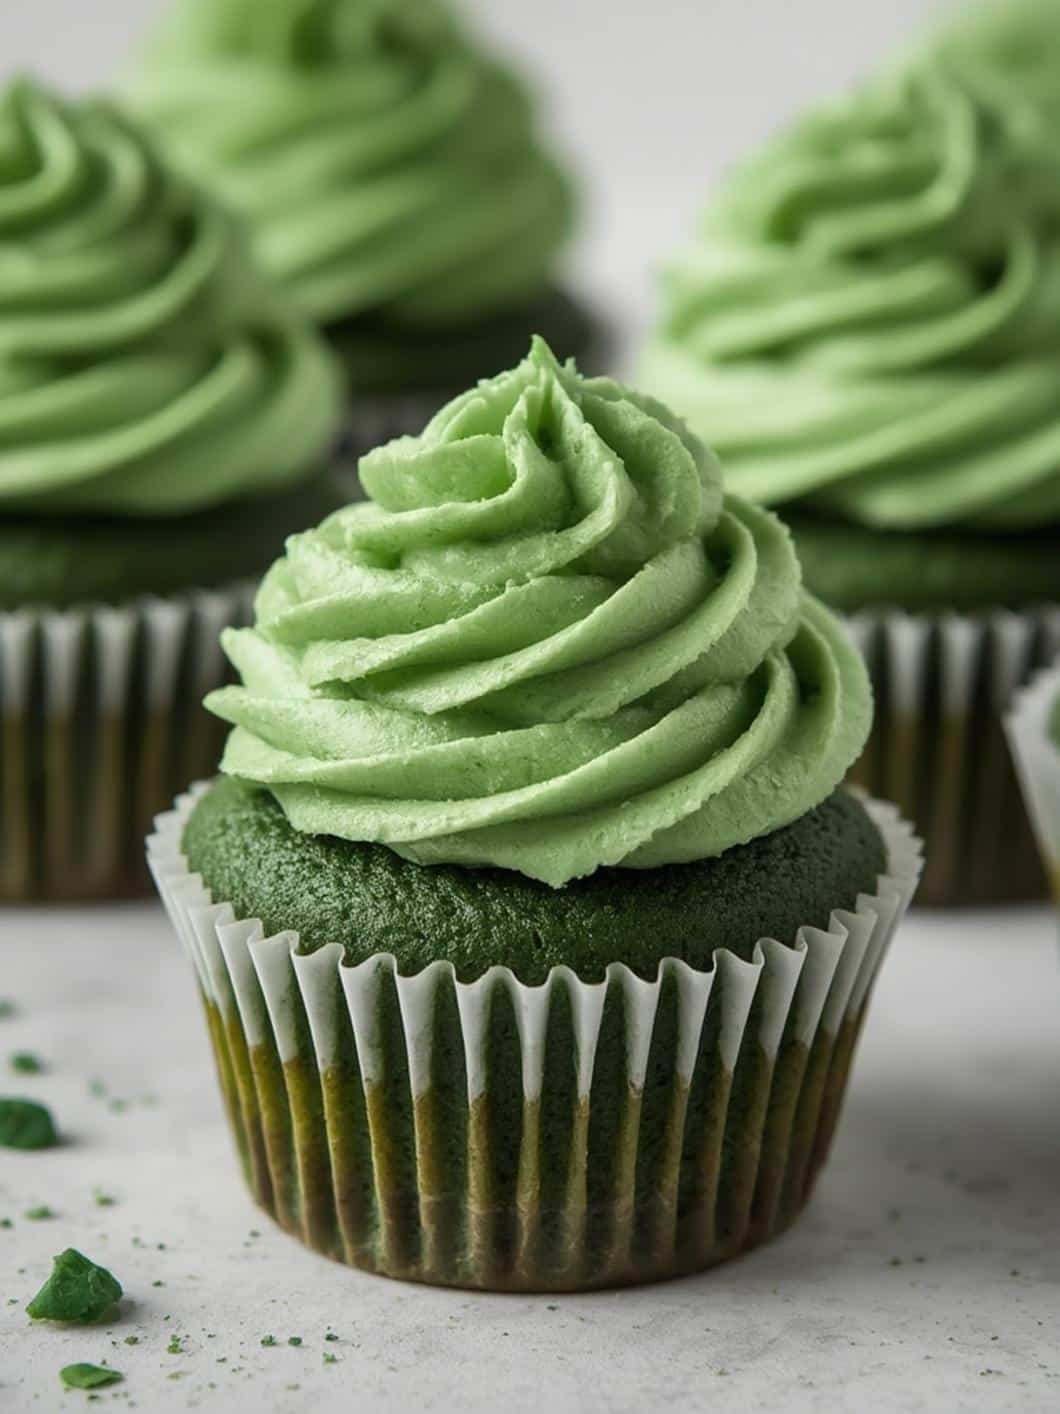
- Step 14: Frost the Cupcakes. Once the green velvet cupcakes are completely cool, you can frost them. For a beautiful, professional look, use a piping bag fitted with a star tip to swirl the frosting on top. Otherwise, a simple spread with an offset spatula or knife works just as well.
- Step 15: Garnish and Serve. For a festive touch, top your frosted cupcakes with green sprinkles, a dusting of cupcake crumbs, or even a shamrock for St. Patrick’s Day. For other festive ideas, you might also enjoy making St. Patrick’s Day Oreo Balls.
Tips, Tricks, and Variations for Your Cupcakes
Here are a few extra pointers to help you customize your green velvet cupcakes and troubleshoot any common baking issues. With these tips, you’ll be baking like a pro in no time.
Achieving the Perfect Texture
The single most common mistake in baking is overmixing the batter. As soon as the flour is incorporated, stop mixing. Overworking the batter develops the gluten in the flour, which can lead to tough, dense cupcakes instead of a light, velvety crumb. Furthermore, using room temperature ingredients, especially the eggs and buttermilk, helps the batter come together more evenly, creating a more uniform texture.
Storage and Make-Ahead Tips
These green velvet cupcakes can be made ahead of time. Unfrosted cupcakes can be stored in an airtight container at room temperature for up to two days. If you’ve already frosted them, they must be stored in an airtight container in the refrigerator for up to four days due to the cream cheese frosting. For longer storage, you can freeze the unfrosted cupcakes for up to three months. Simply wrap them tightly in plastic wrap and then place them in a freezer-safe bag. Thaw at room temperature before frosting and serving. When discussing diet and food storage, it is always wise to consult reliable sources; for instance, Mayo Clinic offers extensive guidance on food safety.
Fun Variations
While the classic recipe is fantastic on its own, you can easily add your own creative spin. For a minty St. Patrick’s Day version, add a quarter teaspoon of mint extract to the batter along with the vanilla. For an extra treat, you could also fold in some white chocolate chips before baking. If you love festive party snacks, consider pairing these cupcakes with a batch of festive Leprechaun Bait for a truly magical celebration.
Conclusion
Baking a batch of homemade green velvet cupcakes is a wonderfully rewarding experience that brings a splash of color and delicious flavor to any occasion. By following this detailed guide, you are well-equipped to create perfectly moist cupcakes with a tender crumb and a rich, tangy cream cheese frosting. Remember that the keys to success are using the right ingredients like buttermilk and not overmixing the batter. Ultimately, this recipe is more than just a set of instructions; it is an invitation to get creative in the kitchen. We hope you enjoy every moment of baking and, of course, eating these beautiful green velvet cupcakes.
Frequently Asked Questions (FAQ)
What is the flavor of green velvet cupcakes?
Green velvet cupcakes have the same flavor profile as classic red velvet. The taste is a unique combination of mild cocoa, tangy buttermilk, and sweet vanilla. The green color is purely for visual appeal and does not affect the flavor, unless you choose to add a complementary extract like mint.
Why is there vinegar in the recipe?
Vinegar is a key ingredient in velvet cakes. As an acid, it reacts with the baking soda to create carbon dioxide gas, which helps the cupcakes rise and gives them a very light and tender texture. It also enhances the subtle tang from the buttermilk.
Can I use regular milk instead of buttermilk?
While you can, it is not recommended for an authentic velvet texture and flavor. Buttermilk’s acidity is crucial for tenderizing the crumb. If you’re in a pinch, you can make a substitute by adding one tablespoon of white vinegar or lemon juice to one cup of regular milk and letting it sit for 5-10 minutes until it curdles slightly.
Why did my cupcakes turn out dense?
The most common reason for dense cupcakes is overmixing the batter after the flour has been added. This overdevelops the gluten, resulting in a tough texture. Mix only until the ingredients are just combined for a light and fluffy result.