Welcome to a truly decadent twist on a classic holiday favorite! If you love traditional snowball cookies, then you are absolutely going to adore this rich and fudgy version. This incredible Chocolate Snowball Cookies Recipe creates melt-in-your-mouth, buttery shortbread-style cookies packed with deep chocolate flavor and crunchy nuts. Moreover, they get a double coating of powdered sugar, which gives them their signature snowy appearance. Consequently, they are perfect for Christmas cookie exchanges, holiday parties, or simply as a cozy treat with a glass of milk. This guide will walk you through everything you need to know to bake the most perfect batch every single time.
What Makes This Chocolate Snowball Cookies Recipe So Special?
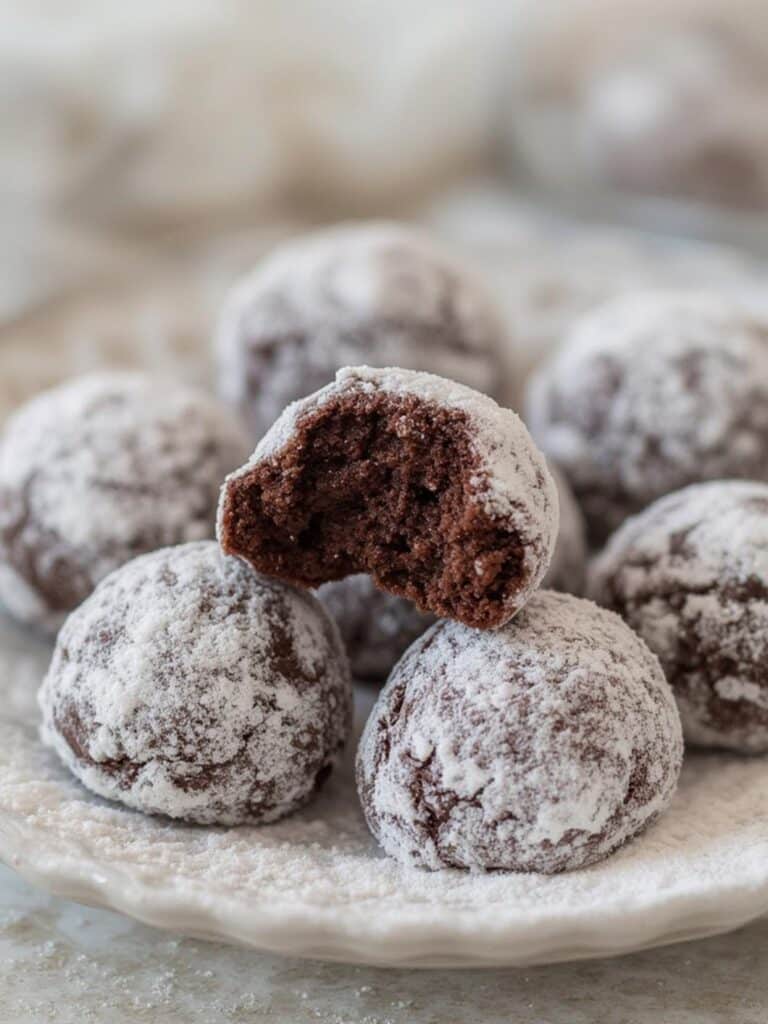
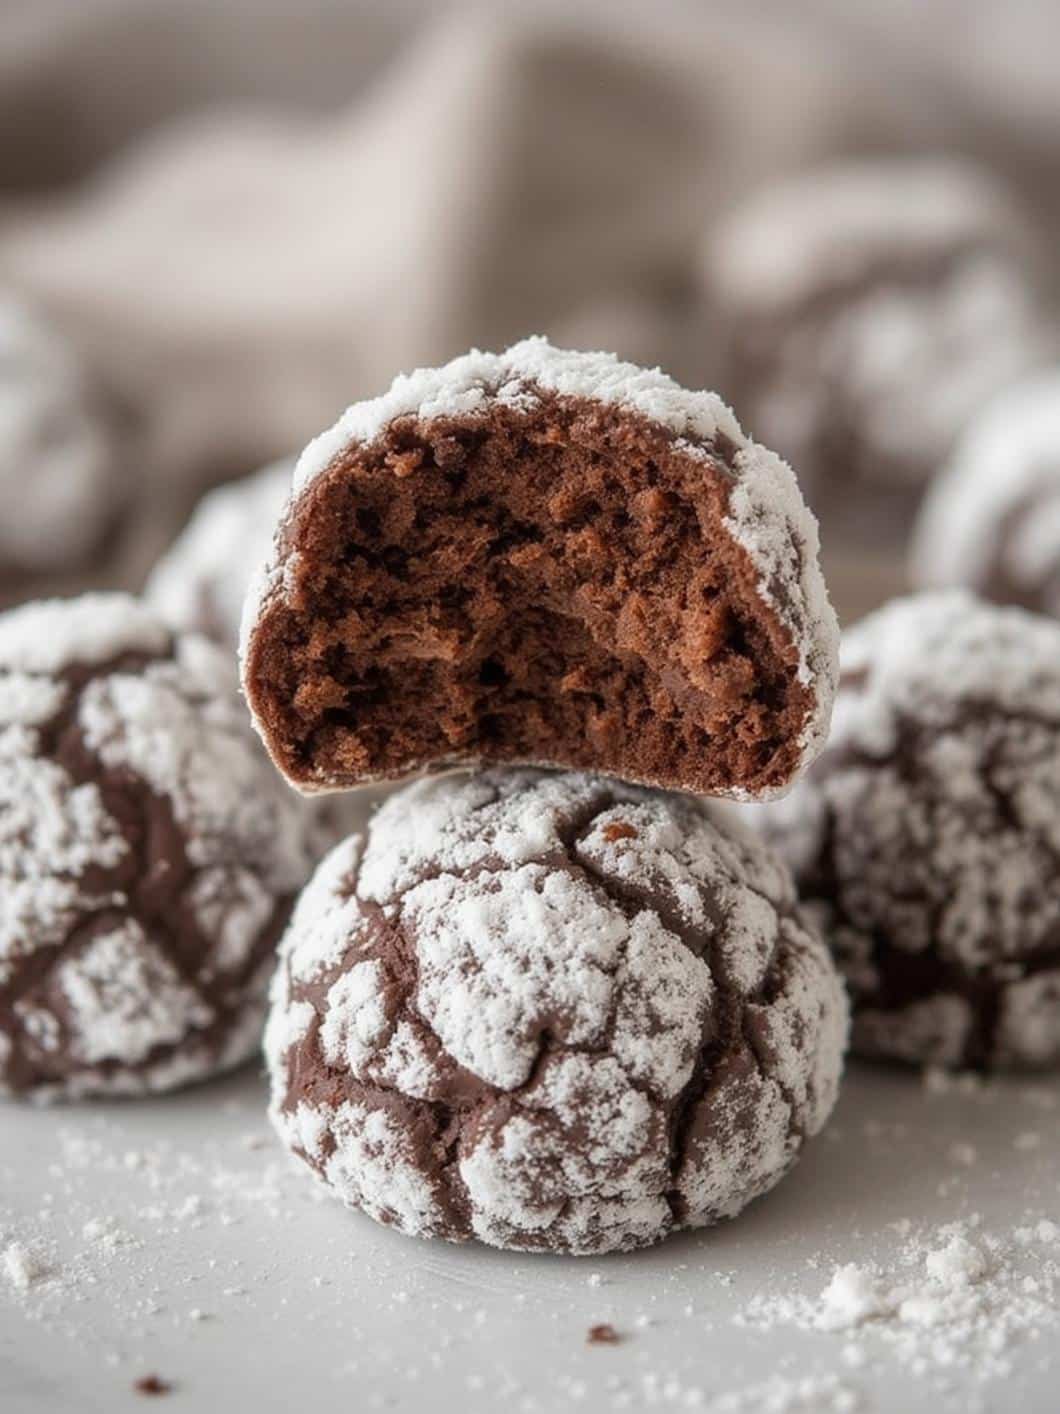
First and foremost, the texture of these cookies is simply unparalleled. Unlike other cookies, they have a delicate, sandy crumb that dissolves on your tongue, a quality that comes from a high butter content and the use of powdered sugar within the dough itself. In addition, the deep, rich flavor from high-quality cocoa powder transforms them from a simple nutty cookie into a sophisticated chocolate delight. This chocolate snowball cookies recipe is specifically designed to balance the sweetness of the powdered sugar coating with a less-sweet, intensely chocolatey interior.
Furthermore, the visual appeal is undeniable. The stark white exterior contrasts beautifully with the dark cookie inside, making them a stunning addition to any cookie platter. They truly look like little snowballs, which makes them particularly festive during the winter months. For this reason, they are often called Russian Tea Cakes or Mexican Wedding Cookies. However, the addition of chocolate sets this particular version apart, making it a memorable treat for everyone who tries it. Similar to other holiday favorites like Christmas Gooey Butter Cookies, their melt-in-your-mouth quality is what makes them so addictive.
Print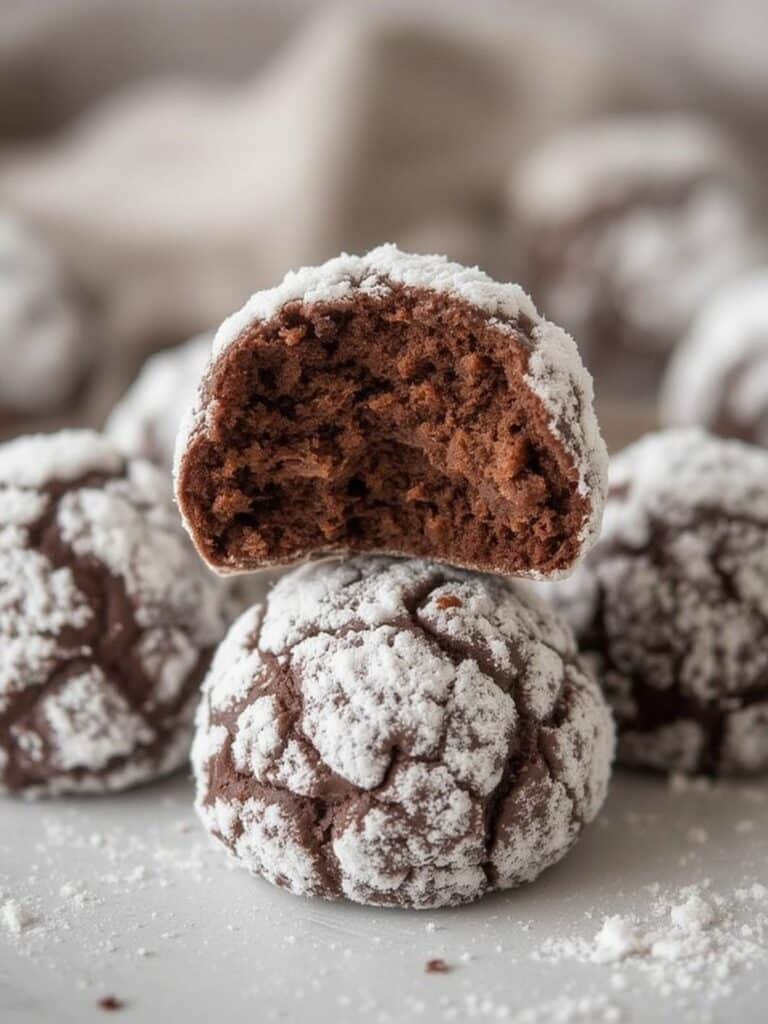
Chocolate Snowball Cookies Recipe: The 12 Ultimate Steps for Rich, Buttery Perfection
Rich, buttery, melt-in-your-mouth cookies with a deep chocolate flavor and a snowy powdered sugar finish—these Chocolate Snowball Cookies are a festive favorite for the holidays or any time you crave a tender, nutty treat.
- Total Time: 35 minutes
- Yield: 30 cookies 1x
Ingredients
1 cup unsalted butter, softened
3/4 cup powdered sugar (plus extra for coating)
1 teaspoon pure vanilla extract
1 3/4 cups all-purpose flour
1/3 cup unsweetened Dutch-processed cocoa powder
1/4 teaspoon salt
3/4 cup finely chopped pecans or walnuts
Powdered sugar, for rolling (about 1 cup)
Instructions
1. Preheat oven to 350°F (175°C) and line two baking sheets with parchment paper.
2. In a large bowl, cream together softened butter and powdered sugar until light and fluffy.
3. Add vanilla extract and beat until well combined.
4. In a separate bowl, whisk together flour, cocoa powder, and salt.
5. Gradually add the dry ingredients to the butter mixture, mixing on low speed just until combined.
6. Fold in the finely chopped nuts using a spatula.
7. Cover the dough and chill for 30–60 minutes to firm up.
8. Use a small scoop or spoon to portion dough and roll into 1-inch balls.
9. Place dough balls about 1 inch apart on the prepared baking sheets.
10. Bake for 12–15 minutes, or until the cookies are set but still soft.
11. Cool for 5 minutes, then roll warm cookies in powdered sugar for the first coat.
12. Let cool completely on a wire rack, then roll again in powdered sugar for a snowy finish.
Notes
For extra depth of flavor, toast the nuts before adding them to the dough. Be sure not to skip the chilling step—it keeps the cookies from spreading. You can freeze unbaked dough balls and bake them straight from the freezer. For a peppermint variation, substitute 1/2 tsp vanilla with peppermint extract and add crushed candy canes to the coating.
- Prep Time: 20 minutes
- Cook Time: 15 minutes
- Category: Dessert
- Method: Baking
- Cuisine: American
- Diet: Vegetarian
Nutrition
- Serving Size: 2 cookies
- Calories: 180
- Sugar: 9g
- Sodium: 45mg
- Fat: 12g
- Saturated Fat: 7g
- Unsaturated Fat: 4g
- Trans Fat: 0g
- Carbohydrates: 18g
- Fiber: 1g
- Protein: 2g
- Cholesterol: 25mg
Essential Ingredients You’ll Need
Before you begin baking, it is important to gather all your ingredients. Having everything measured and ready to go makes the process much smoother and more enjoyable. As a result, you are less likely to make mistakes. Here is what you will need for this fantastic chocolate snowball cookies recipe.
For the Cookie Dough
- Unsalted Butter: Make sure it is softened to room temperature for easy creaming. This is crucial for the cookie’s texture.
- Powdered Sugar: Also known as confectioners’ sugar, it helps create that signature tender, melting texture.
- Vanilla Extract: Use pure vanilla extract for the best flavor, as it complements the chocolate beautifully.
- All-Purpose Flour: This provides the structure for the cookies. Be sure to measure it correctly.
- Unsweetened Cocoa Powder: This is where the rich chocolate flavor comes from. Dutch-processed cocoa will yield a darker color and deeper flavor.
- Salt: Just a pinch is needed to balance the sweetness and enhance the chocolate notes.
- Finely Chopped Nuts: Pecans or walnuts are traditional and work wonderfully, but almonds are also a great choice.
For the Snowy Coating
- Powdered Sugar: You will need a generous amount for the double coating that gives these cookies their name and extra sweetness.
Step-by-Step Instructions for the Perfect Chocolate Snowball Cookies Recipe
Now that you have your ingredients, it’s time to start baking! Follow these detailed steps carefully for foolproof results. This process is straightforward, and soon you’ll have a batch of delicious chocolate snowballs.
Step 1: Preparation. First, preheat your oven to 350°F (175°C). Next, line two baking sheets with parchment paper to prevent the cookies from sticking. This also makes for much easier cleanup later on.
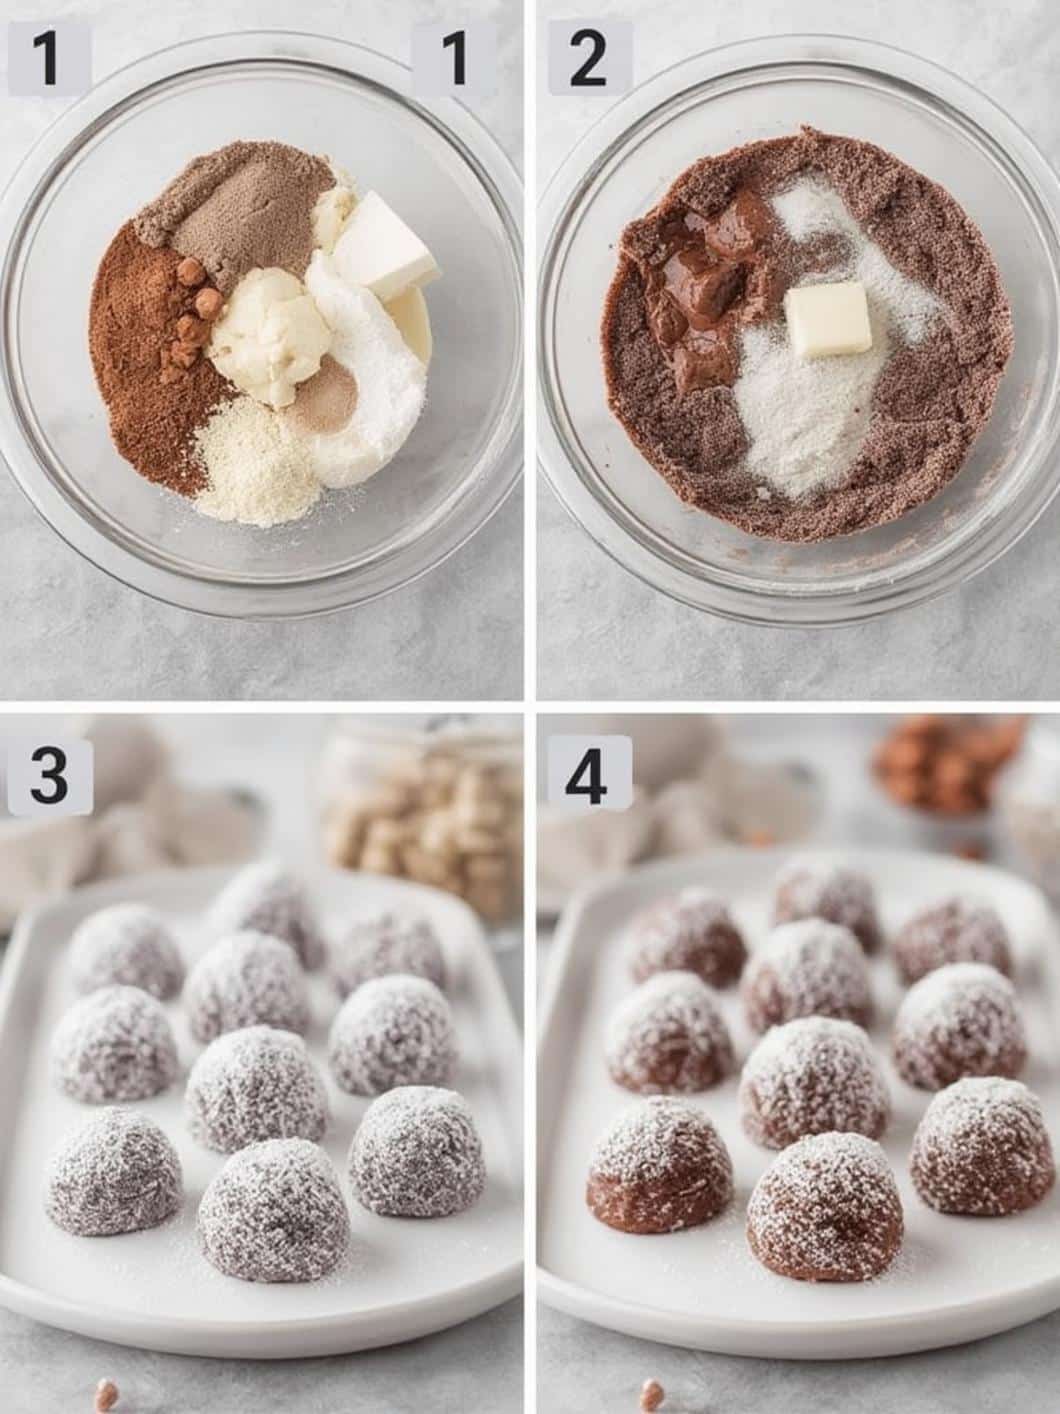
Step 2: Cream Butter and Sugar. In a large bowl using a stand mixer or a hand mixer, beat the softened butter and powdered sugar together on medium speed until the mixture is light and fluffy. This step incorporates air, which is essential for a tender cookie.
Step 3: Add Vanilla. Subsequently, beat in the vanilla extract until it is well combined.
Step 4: Combine Dry Ingredients. In a separate medium bowl, whisk together the all-purpose flour, unsweetened cocoa powder, and salt. Whisking helps to distribute the ingredients evenly, ensuring a consistent flavor and texture in every cookie.
Step 5: Mix Dough. With the mixer on low speed, gradually add the dry ingredient mixture to the butter mixture. Be careful not to overmix; mix just until the flour is incorporated. Overmixing can develop gluten, resulting in tough cookies.
Step 6: Add Nuts. Gently stir in the finely chopped nuts with a spatula until they are evenly distributed throughout the dough.
Step 7: Chill the Dough. This step is critical. Cover the bowl with plastic wrap and chill the dough in the refrigerator for at least 30 minutes to an hour. Chilling solidifies the butter, which prevents the cookies from spreading too much while baking.
Step 8: Shape the Cookies. Once chilled, use a small cookie scoop or a spoon to portion the dough. Then, roll the dough between your palms into 1-inch balls and place them about an inch apart on the prepared baking sheets.
Step 9: Bake. Bake for 12-15 minutes, or until the bottoms are lightly browned and the cookies are set. They will still feel slightly soft to the touch.
Step 10: First Sugar Coat. Let the cookies cool on the baking sheet for about 5 minutes, just until they are cool enough to handle but still warm. While they are warm, gently roll each cookie in a bowl of powdered sugar until it is lightly coated. The warmth helps the first layer of sugar adhere.
Step 11: Second Sugar Coat. Transfer the coated cookies to a wire rack to cool completely. Once they are fully cool, roll them in powdered sugar a second time for a thick, beautiful snowy coating. This final layer gives them their signature look.
Step 12: Enjoy! Your delicious homemade treats from this chocolate snowball cookies recipe are now ready to be enjoyed.
Pro Tips and Tricks for Success
To elevate your chocolate snowball cookies from good to absolutely amazing, keep these expert tips in mind. A few small adjustments can make a significant difference in the final product.
Choosing Your Chocolate and Nuts
The quality of your ingredients directly impacts the final taste. For instance, using a high-quality Dutch-processed cocoa powder will give you a darker, richer, and less acidic chocolate flavor. When it comes to nuts, toasting them beforehand can significantly enhance their flavor. Simply spread them on a baking sheet and toast at 350°F for about 5-7 minutes until fragrant. After that, let them cool completely before chopping and adding them to the dough.
Getting the Perfect Shape and Texture
The key to the perfect snowball cookie is preventing it from spreading into a flat disc. As mentioned earlier, chilling the dough is non-negotiable. In addition, using a cookie scoop ensures that all your cookies are a uniform size, which means they will bake evenly. Finally, resist the urge to overmix the flour. Mix only until no dry streaks remain to keep the cookies tender and light.
Storage and Freezing Instructions
These cookies store wonderfully. You can keep them in an airtight container at room temperature for up to a week. In fact, some people find their flavor deepens after a day or two. For longer storage, you can freeze either the unbaked dough balls or the fully baked cookies. To freeze the dough, place the shaped balls on a baking sheet, freeze until solid, and then transfer to a freezer bag. You can bake them directly from frozen, adding a few extra minutes to the baking time. To freeze baked cookies, wait until they are completely cool, then place them in a freezer-safe container, separating layers with parchment paper. They will last for up to 3 months.
Fun Variations to Try
While this classic chocolate snowball cookies recipe is fantastic on its own, it also serves as a wonderful base for other flavor combinations. For example, you can easily customize it to your liking.
- Mexican Hot Chocolate Snowballs: Add 1/2 teaspoon of ground cinnamon and a tiny pinch of cayenne pepper to the dry ingredients for a warm, spicy kick.
- Chocolate Peppermint Snowballs: Substitute the vanilla extract with 1/2 teaspoon of peppermint extract. For an extra festive touch, you can mix finely crushed candy canes into the final powdered sugar coating. If you love this flavor combination, you should also try our Chocolate Peppermint Brownie Cookies.
- Nut-Free Option: If you have a nut allergy or simply don’t care for nuts, you can omit them entirely. Alternatively, replace them with an equal amount of mini chocolate chips for an extra-chocolatey cookie.
- Different Nuts: Feel free to experiment with other nuts like finely chopped almonds, hazelnuts, or even pistachios for a different flavor profile.
The Healthier Side of Chocolate and Nuts
While cookies are certainly a treat, it’s nice to know that some of the ingredients contain beneficial properties. For example, dark chocolate and unsweetened cocoa powder are packed with antioxidants. According to Healthline, these compounds can help fight free radicals in the body. Of course, this chocolate snowball cookies recipe should be enjoyed in moderation as part of a balanced diet.
Furthermore, the nuts in this recipe, particularly walnuts and pecans, are excellent sources of healthy fats, protein, and fiber. The Mayo Clinic notes that nuts are heart-healthy and can help lower bad cholesterol levels. Therefore, including them in your cookies adds not only flavor and crunch but also a bit of nutritional value. Just remember that moderation is always key when enjoying sweets.
Conclusion About Chocolate Snowball Cookies
In conclusion, this Chocolate Snowball Cookies Recipe is a must-try for any chocolate lover, especially during the festive season. The combination of rich, buttery chocolate dough and a sweet, snowy coating is simply irresistible. By following the detailed steps and expert tips provided, you can confidently create a batch of perfect, melt-in-your-mouth cookies that will impress family and friends. Ultimately, this recipe is easy to make, fun to customize, and yields a delicious result every time. We hope you enjoy baking and sharing these delightful chocolate snowball cookies.
Frequently Asked Questions About Chocolate Snowball Cookies
Why did my chocolate snowball cookies spread out and go flat?
The most common reason for cookies spreading is that the dough was too warm. Chilling the dough for at least 30-60 minutes before baking is essential, as it solidifies the butter and helps the cookies hold their round shape. Additionally, ensure your oven is fully preheated to the correct temperature before putting the cookies in.
Can I make this chocolate snowball cookies recipe without nuts?
Yes, absolutely! If you have a nut allergy or prefer a nut-free cookie, you can simply omit the nuts from the recipe. The cookies will still be wonderfully tender and chocolatey. For a similar texture, you could substitute the nuts with mini chocolate chips or finely chopped toffee bits.
How far in advance can I make these cookies?
These cookies have a great shelf life. You can bake them up to a week in advance and store them in an airtight container at room temperature. The dough can also be made and refrigerated for up to 3 days or frozen for up to 3 months before baking.
What is the best way to store chocolate snowball cookies?
Store the completely cooled cookies in an airtight container at room temperature. Placing a piece of parchment paper between layers can help prevent them from sticking together and preserve the powdered sugar coating. Avoid refrigerating baked cookies, as it can dry them out.